Useful Info

Recipes: How to find the recipes from my show.
Hunting for the recipes from my TV show, Sara’s Weeknight Meals? I still get lots of e-mails asking for the recipes from my show and wanted to let you know that they are all right on this site 24/7. Just select “Shows” in the menu under the title at the…

Leavening: What is the difference between baking powder and baking soda?
A new baker recently asked me, “What is the difference between baking powder and baking soda? When do you use each of these two ingredients?” Both baking powder and baking soda are leavening agents; they release carbon dioxide to make baked products rise. Baking soda is bicarbonate of soda. It is an…
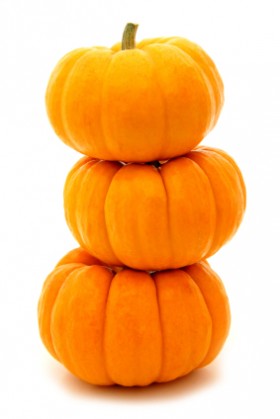
Pumpkins: How do you cook a pumpkin?
Pumpkins can be peeled, cubed, and boiled or steamed, but because they are very hard to cut when they are raw and very easy to handle once they are cooked, my favorite way to cook pumpkin is to roast the whole thing until it is tender. Just rinse it and…
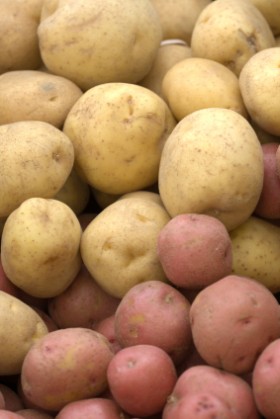
Potatoes: What is the best way to store potatoes?
I am often asked, “what is the best way to store potatoes?” “Should I store them at room temperature, refrigerate them, put them in an open bowl, or a tight plastic bag?” Potatoes keep best when placed in a well-ventilated container and stored in a dry location, away from sunlight,…
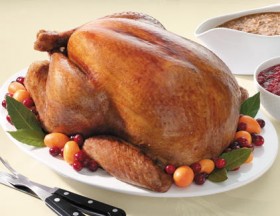
Turkey: Where can I learn how to carve a turkey?
One of the questions I frequently get at this time of year is, “Where can I find out how to carve a turkey?” I have lots of information on the site about cooking and serving turkey and decided that carving the bird was the missing piece. Of the many guides…
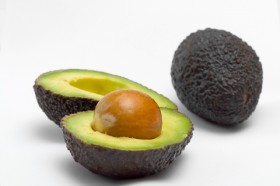
Avocados: Can avocados be frozen?
Becky wrote to the Kitchen Shrink that her brother can send her cases of avocados from Texas but she needs a way to preserve them. She wondered if she could freeze them or freeze her homemade guacamole, and if so, how? According to the California Avocado Commission, avocados can be…
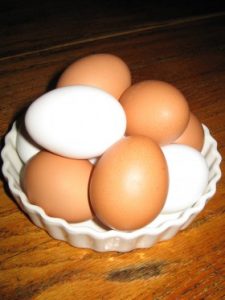
Eggs: Can I substitute another size egg for large eggs in a recipe?
Marilee e-mailed the Kitchen Shrink that she always buys jumbo eggs and wondered if it is all right to use them when a recipe calls for large eggs. Most recipes call for large eggs because that is the size that is purchased most often in American supermarkets. If you are…
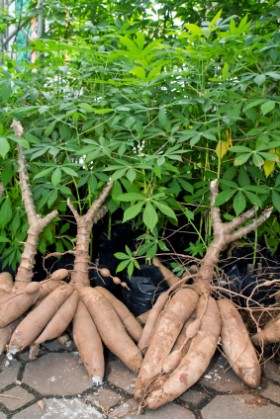
Tapioca Starch: How do you use tapioca starch?
I just received an e-mail asking me about using tapioca starch to thicken soups and desserts. Tapioca, manioc, or cassava starch is a fine white powder produced from the cassava root, which is grown in Central and South America, Florida, the Caribbean Islands, and temperate climates around the world. While…
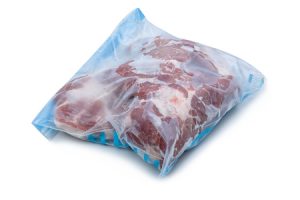
Kitchen Shrink: Is it true that you can only freeze raw meat once and cooked meat once? Why?
Randall, a viewer, asked “The rule had always been, you could freeze raw meat once and cooked meat once. Is this true and why?” I think it is a pretty good rule of thumb. However, the United States Department of Agriculture Food Safety and Inspection Service web site which gives…
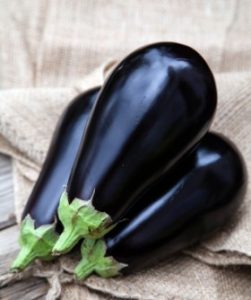
Eggplant: How can I select an eggplant that isn’t bitter?
Dolores e-mailed the Kitchen Shrink that many of the meatless main dishes she likes to make for Lent include eggplant and wondered if there was some way to make sure the eggplant won’t be bitter. Eggplants become bitter if they are very mature and full of seeds when harvested or…
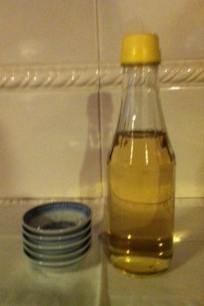
Rice Vinegar: What is the difference between rice vinegar and rice wine vinegar?
Angelia recently e-mailed the Kitchenshrink to ask, “What is the difference, if any, between rice wine vinegar and rice vinegar?” There really isn’t much difference between rice vinegar and rice wine vinegar and they can certainly be used interchangeably in a recipe. To make rice vinegar, rice is fermented until it…
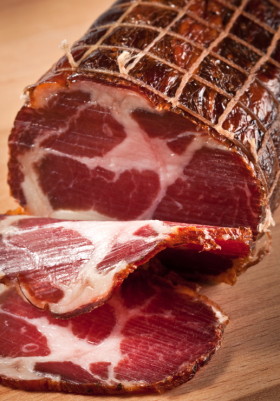
Pancetta: What is Pancetta and how do you cook it?
Marvin e-mailed the Kitchen Shrink that he had enjoyed scallops with pancetta at a restaurant and wondered what pancetta is, how you cook it, and where to buy it. Although pancetta is often called Italian bacon, it is somewhat different from American bacon in that it is made only from pork…
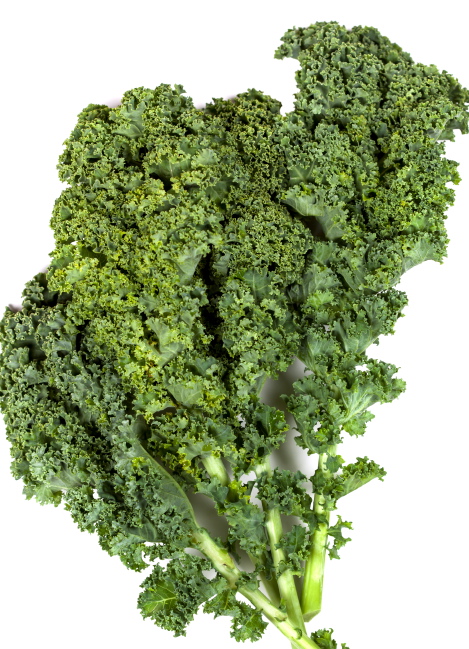
Kale: What are some good ways to cook kale?
As fall approaches it is definitely time to take a new look at kale. Kale has become one of the latest cruciferous vegetables to rebrand as a versatile ingredient in almost any recipe you can think of. Also known as borecole, this cousin of cabbage, collards, and Brussels sprouts has…
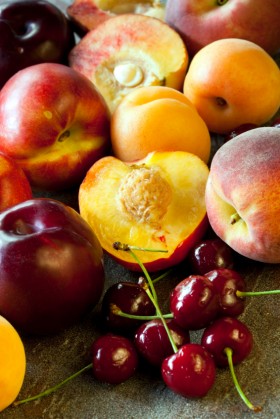
Fruit: Selecting and handling early summer fruit
Freshly picked apricots are the first “stone” fruit of summer. Shortly after they appear on the market, cherries, nectarines, peaches, and then plums arrive. Prompted by the warmth of the early summer sun each ripens in its own time. Fruits have different ripening agendas, some stop ripening when they are…
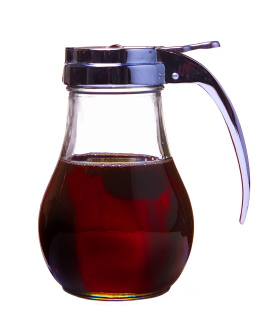
Maple Syrup: What is Grade B Maple Syrup?
Marilyn e-mailed the Kitchen Shrink that she has a recipe that calls for Grade B Maple Syrup and wonders if she can substitute Grade A Maple Syrup as her supermarkets don’t have Grade B. Most maple recipes these days do call for Grade B Maple Syrup because this (usually late-season)…
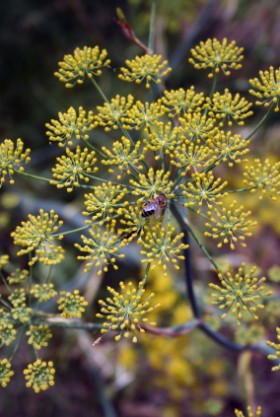
Spices: All about fennel pollen.
Recently the Kitchenshrink has gotten several questions about fennel pollen, an intensely aromatic flavor enhancer that has shown up on restaurant menus in the past several years. What is it? How do you use it? Where can I get some? Here’s the scope. Fennel pollen is a golden dust brushed…
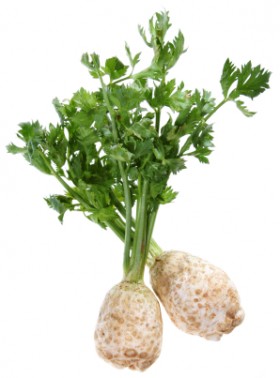
Celery Root or Celeriac: What is celery root?
I just got an e-mail from Ron asking me what celery root is and how to prepare it. I love to use celery root, either cooked or raw and have used it in all my books. Here is what I said about it in my latest book, Sara Moulton’s Everyday…
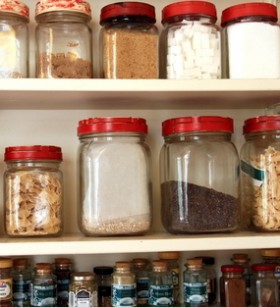
Pantry: What should you have in a well-stocked pantry?
I frequently get e-mails asking which items are essential when stocking your pantry. Here is my list. I am loosely defining the pantry as things you should keep on hand–not only in your cupboard (the literal pantry), but also in the fridge, the freezer, the dry vegetable bin and the…

Wedding reception: How can you plan a special yet affordable wedding reception menu?
Last week I received an e-mail from the mother of a bride asking for help planning the menu for her daughter’s wedding reception. She wanted the meal to be one that everyone would enjoy but needed it to stay within a moderate budget. My suggestion is to create a theme…
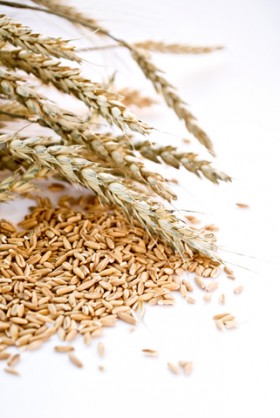
Grains: Which grains contain gluten?
Gluten is the name for the protein in grains. All grains contain protein that is theoretically gluten but people with celiac disease and most other gluten allergies only react to the form of gluten found in wheat (including spelt, kamut, triticale and all varieties of wheat), barley, and rye. While…
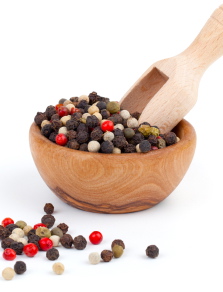
Peppercorns: All about peppercorns
When I am freshly grinding pepper during a demo I often get questions about the different types of peppercorns and their origins. Real peppercorns are the berries that grow in grapelike clusters on the Piper nigrum plant, a climbing vine native to India and Indonesia. They are processed differently to…
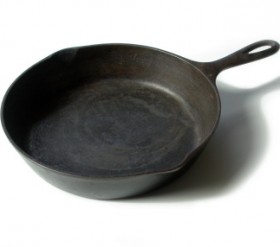
Cookware: Caring for Cast Iron
I recently got an e-mail from Terry asking why I often recommend cast iron skillets. She said she finds hers hard to take care of. I am such a fan of cast iron that I devoted a whole page in Sara’s Secrets for Weeknight Mealsto it. Here’s an abbreviated version…

Eggs: What do eggs do in baking?
Karen e-mailed the Kitchen Shrink to ask, “What do eggs do in baking?” In addition to their nutritional value, eggs can provide structure, leavening, richness, color, and flavor to baked products. The height and texture of baked goods is determined by the balance between eggs and flour which provide strength,…
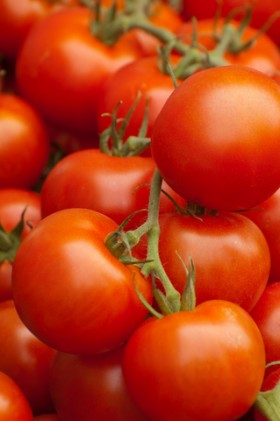
Tomatoes: Can I freeze tomatoes to use in pasta sauces or soups?
I just got an e-mail from Gloria entitled “Tomatoes Everywhere.” She explained that she was overwhelmed by the abundance of tomatoes her garden had produced and wondered if she could freeze some. I have had that problem myself (check out “Too Many Tomatoes”) and have been asked practically the same…