Cooking Tips
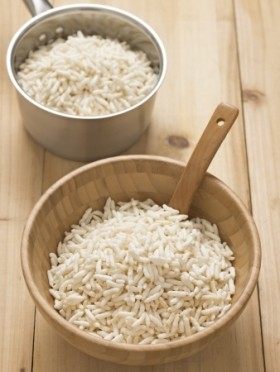
Rice: How do you cook rice?
A while ago I got an e-mail from Brent asking, “How long do you cook rice?” I thought I would just send him a link to my recipe for cooking rice and discovered that although I recommend serving my Simple Boiled Rice with several entrées, the recipe wasn’t up on the…
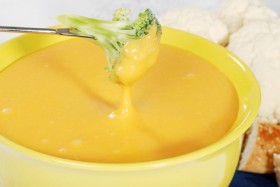
Cheese: What are good melting cheeses?
A reader e-mailed the Kitchen Shrink to ask, “Which cheeses can be melted and poured?” While most people know that processed cheeses melt smoothly and easily into sauces, selecting a natural cheese that behaves as well isn’t always easy. Many hard grating cheeses don’t melt well and those known for…
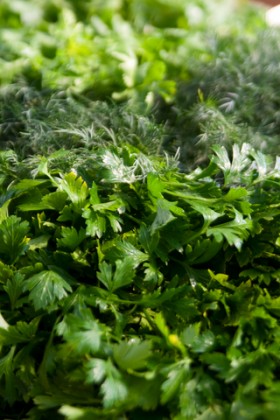
Herbs: Substituting fresh for dried herbs
A viewer e-mailed the Kitchen Shrink to ask, “I am growing my own herbs this Spring and want to use them in all my recipes! However, most recipes call for dried herbs. Is the measurement of dried herbs the same for fresh herbs or should I uses less since the…
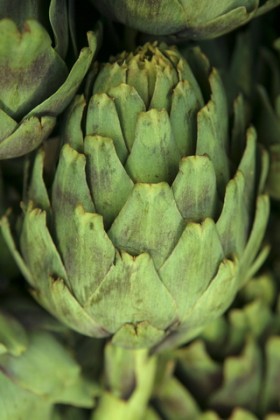
Artichokes: How do you cook artichokes?
“How do you cook artichokes?” I have been asked that so frequently that I included my favorite way in Sara Moulton Cooks at Home. I always steam whole artichokes rather than boil them. They lose some flavor and get watery when you boil them. Place a steamer basket in a…

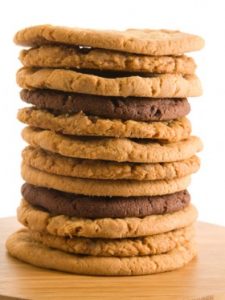
Cookies: Why do cookies deflate after baking?
Pam recently e-mailed the Kitchenshrink with several questions. With the help of my friend Jean Anderson, I answered one last week and Jean and I will take on the second this week, “Why do cookies deflate when you take them from the oven. Especially chocolate chip?” My thought was that…
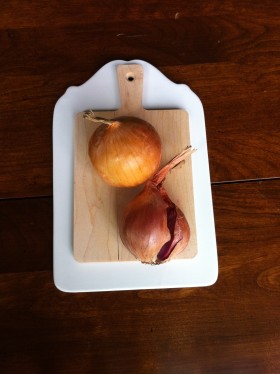
Shallots and Onions: Can they be interchanged?
There are many varieties of both shallots and onions within the species Allium cepa. They vary in appearance in that shallots grow in clusters attached at the bottom and each onion is an individual. But there doesn’t seem to be a consensus as to which is stronger in flavor. Perhaps…

What is the easiest way to Roast Peppers?
There are a number of ways to roast peppers; all are easy. I have used roasted red peppers in all of my books and here are the instructions I’ve included to help readers make them: If you have a gas stove, turn on one burner to a low flame for…

Need an all-purpose salad dressing ready to use in your fridge? Here’s the recipe for my favorite homemade vinaigrette with variations.
I frequently get requests for a good homemade salad dressing and now that we are all cooking more at home it seems like a good time to remind you of my favorite vinaigrette. My refrigerator is never without it. It is good on any basic savory salad and can be…

Love biscuits but don’t have biscuit mix on hand? Here’s how to make your own.
These days we are all baking a bit more than usual and if you love biscuits, you can get them in the oven a lot faster if you have homemade biscuit mix on hand. You will find a number of recipes on line for a homemade substitute for commercial biscuit…
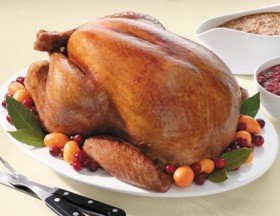
Shopping for a turkey? You can find help with selecting, prepping, and serving right here.
It’s just about time to shop for, prep, and cook the perfect Thanksgiving turkey. Need some help? In Season 2 of Sara’s Weeknight Meals I did a whole show on getting ready for Thanksgiving. Here is a link to my tips for making it a perfect occasion.
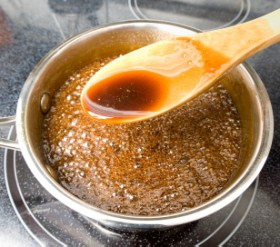
Is there an easy, fool-proof way to make caramel?
I had been asked this question so often over the years that I included my favorite way to make caramel in Sara Moulton Cooks at Home. You can find it on page 54 and an in depth explanation of why I think it is the best method on page 55.…
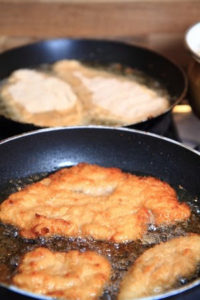
Kitchen Shrink answers, “When frying breaded chicken, how do you keep the coating on the meat?”
First of all make sure the chicken pieces are dry, coat them with flour (I like to use Wondra instantized flour) or cornstarch and shake off any excess. Then dip them in beaten egg or buttermilk, or a combination of the two, and finally coat them with bread crumbs, panko,…
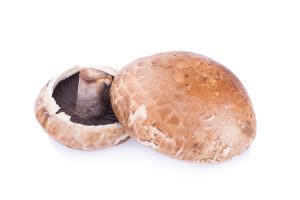
Mushrooms: Why do you suggest removing the gills from portobello mushrooms?
While it is not necessary to remove the gills from portobello mushrooms before you use them, I feel that there are some good reasons to take the time to do it. The dark gills share their color with everything they touch and will discolor (turn black) any stuffings, sauces, and…

Turkey: How do you decide which size turkey to buy?
It’s time to think about ordering your Thanksgiving turkey and each year as the holiday approaches I get questions about selecting the right size. The general rule is to buy 1 pound per person you are serving. However no one is disappointed if there is leftover turkey for the day…
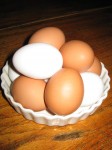
Eggs: Perfect Hard-cooked Eggs
This time of year I get a lot of e-mails asking me about the special technique for hard cooking eggs that I learned from Julia Child. When I was writing Sara’s Moulton’s Everyday Family Dinners, I made the process even easier and here it is: Sara’s Hard-cooked Eggs This is…
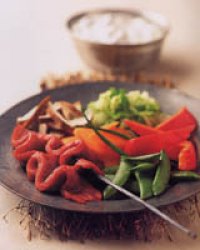
Meat: How Can I Thinly Slice Raw Meat?
Steve e-mailed the Kitchen Shrink to ask if there was a trick for thinly slicing raw meats for stir fry. As I mention in my recipe for Japanese Beef Fondue, the best way to thinly slice meat without a fancy slicing machine is to partially freeze the meat so it…
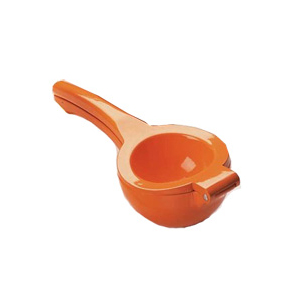
Limes: How can I get the most juice from a lime?
Betty e-mailed the Kitchen Shrink that she had some limes that were especially firm and wondered if there was a “secret” to getting the most juice from them. Now there is a question that I get so frequently that I put a sidebar in Sara Moulton Cooks at Home with…
Baking: How can I get my cookies to brown evenly?
Sharon e-mailed the Kitchen Shrink that her cookies always get dark on the bottom before the top begins to brown. She wondered what she can do to get them to bake evenly. There are several things that affect the way cookies brown. The best way to get them to brown…
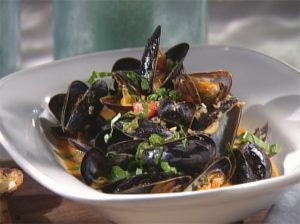
Seafood: Is it better to buy wild or cultivated mussels?
Mary Lou e-mailed the Kitchen Shrink that she was confused by the choice of mussels in her market. She wondered if wild or cultivated mussels are the best choice. Most of the mussels we find in restaurants, fish stores and supermarkets are blue mussels from North Atlantic waters. They probably…
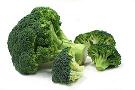
Broccoli: What can you do with broccoli stems?
Sandy e-mailed the Kitchen Shrink that she hated to throw away the stems from fresh broccoli and wondered what she could use them for. Broccoli stems are just as delicious as the tops and can be used in either raw or cooked dishes. You should trim off the bottom 3/4-…

Shrimp: How can I cook shrimp so they will stay tender?
Terri e-mailed the Kitchen Shrink to ask for help in cooking shrimp. She said that no matter how she cooks them, her shrimp seem tough. Whether you deep fry, sauté, stir-fry, steam or boil shrimp, they cook to tender, juicy perfection very, very quickly and then overcook. Shrimp should be cooked just…
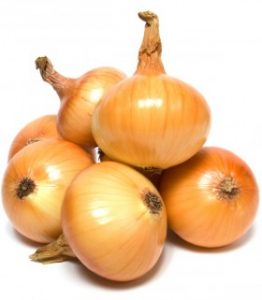
I was recently interviewed for a “Tasting Table” article about all types of onions. Read it here.
I was recently interviewed by Andrea Strong for an article entitled “A Guide to Cooking with Every Type of Onion.” Check it out. You’ll find it here, on the “Tasting Table” web site.
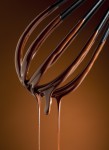
Kitchen Shrink: What is the best way to melt chocolate?
One of the most frequent questions that come in to the Kitchen Shrink is, “How can I melt chocolate without the risk of it scorching or suddenly getting firm.” Chocolate is very sensitive to heat and it is best to melt it slowly. I like to melt it in the…
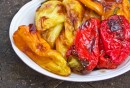
Kitchen Shrink: What is the easiest way to roast peppers?
There are a number of ways to roast peppers; all are easy. I have used roasted red peppers in all of my books and here are the instructions include to help readers make them: If you have a gas stove, turn on one burner to a low flame for every four peppers you want…